Unlock Tropical Flavor: Your Guide to Homemade Shredded & Desiccated Coconut
Imagine the rich, sweet aroma of fresh coconut wafting from your kitchen, ready to transform your favorite recipes. While store-bought shredded or desiccated coconut offers convenience, crafting your own at home opens up a world of unparalleled freshness, customizable textures, and pure, unadulterated flavor. Whether you're a seasoned baker, a health enthusiast, or simply someone who appreciates wholesome, homemade ingredients, learning how to make shredded coconut and desiccated coconut from scratch is a rewarding endeavor that will elevate your culinary creations.
From tropical desserts to savory curries and nourishing snacks, homemade coconut adds a unique depth and authenticity that commercially processed versions often lack. Plus, it's a fantastic way to utilize a whole coconut, transforming it into a versatile pantry staple that's naturally keto, low-carb, gluten-free, nut-free, and grain-free. This guide will walk you through every step, ensuring you master the art of making this fresh and versatile ingredient right in your own kitchen.
Why Go Homemade? The Benefits of DIY Coconut
The decision to make your own desiccated or shredded coconut isn't just about a fun kitchen project; it comes with a host of advantages that will undoubtedly enhance your cooking and baking:
- Unmatched Freshness: There's simply no comparison to the vibrant taste and aroma of freshly prepared coconut. Store-bought versions, even premium ones, often lose some of their aromatic compounds over time.
- Complete Customization: You have absolute control over the texture and sweetness. Prefer finely ground desiccated coconut for delicate confections? Or perhaps coarser, chewier shreds for a tropical topping? You can achieve it all. Want it unsweetened for savory dishes or naturally sweetened for desserts? The choice is yours. This flexibility makes it an incredibly customizable & allergen-friendly option, perfect for specific dietary needs.
- No Unwanted Additives: Commercial products can sometimes contain preservatives or anti-caking agents. When you make it yourself, you ensure your coconut is 100% pure, with no hidden ingredients.
- Cost-Effective: While purchasing a whole coconut might seem like an initial investment, the yield of various homemade coconut products (milk, oil, butter, and now shredded/desiccated coconut) often makes it more economical in the long run than buying each product separately.
- Reduced Waste: Utilizing a whole coconut maximizes its potential, allowing you to enjoy fresh coconut water and various forms of coconut meat.
- Allergen-Friendly Assurance: For those with allergies, especially nut allergies, making your own coconut provides peace of mind that there's no cross-contamination or hidden allergens, as coconuts are botanically fruits, not tree nuts.
Deciphering the Differences: Desiccated vs. Shredded vs. Flakes
Before we dive into the making process, it's helpful to understand the nuances between these commonly used terms. While often used interchangeably, especially in casual conversation, they technically refer to products with distinct textures and moisture levels. Understanding these differences will help you achieve the perfect consistency for your recipes. For a deeper dive into these distinctions and their culinary applications, explore our dedicated article on Desiccated vs. Shredded Coconut: Unlock Fresh Flavor at Home.
- Desiccated Coconut: This term generally refers to finely ground coconut meat that has been thoroughly dried. It has a crumbly, almost sand-like texture, making it ideal for absorbing moisture in baked goods, thickening fillings, or as a fine coating. It's drier than shredded coconut and retains the natural fats, giving it a rich flavor but a different composition than coconut flour.
- Shredded Coconut: Typically characterized by thin, longer strands of grated coconut. While dried, it retains more moisture than desiccated coconut, giving it a slightly chewier, more substantial texture. This makes it perfect for toppings, mixing into granola, or adding a pleasant chew to cookies and cakes.
- Coconut Flakes: For an even coarser and chewier texture, coconut flakes are made by peeling the coconut meat into larger, broader pieces. These are fantastic for visual appeal, toasting, or for snacks where a more substantial coconut bite is desired. You can achieve this at home with a vegetable peeler.
The beauty of making your own is that you can easily pivot between these textures simply by adjusting your grating method and drying time.
Your Step-by-Step Guide to Making Shredded & Desiccated Coconut at Home
The process is surprisingly straightforward, requiring just a mature coconut, a grater (or food processor), and an oven or dehydrator. Let's break it down:
1. Choosing the Right Coconut
Success starts with the right ingredient. Opt for a mature coconut, which will be brown and hairy with a hard shell. You should hear liquid sloshing inside when you shake it. Mature coconuts have firm, white meat with lower moisture content, which is ideal for grating and dehydrating. Avoid young coconuts, which are green or smooth, as their meat is soft, jelly-like, and too high in water for this purpose.
2. Preparing the Coconut: Cracking and Draining
This is often the most intimidating step, but it's quite simple once you know how. There are several methods, depending on whether you want to preserve the shell for crafts like coconut bowls:
- The Hammer Method (Easiest): Holding the coconut firmly, use a hammer to hit along its equator, rotating it as you go. You'll soon see a crack form. Continue hitting gently until it splits into two halves. Make sure to do this over a bowl to catch the nutritious coconut water! You can drink this refreshing liquid straight, add it to smoothies, or use it in recipes.
- The Freezer Method: Place the whole coconut in the freezer overnight. The cold helps the meat contract slightly from the shell. The next day, open it with the hammer method; the shell will often come away more easily.
- The Oven Method (for easier meat removal): After cracking, if the meat is stubborn, place the coconut halves in an oven preheated to 175ºF (80ºC) for 10-15 minutes. This gentle heat can help the meat separate from the shell more readily.
3. Removing the Coconut Meat
Once cracked, you need to extract the white meat. A sturdy spoon, butter knife, or a specialized coconut tool works best. Start by prying a small section free, then use that leverage to work your way around the shell. For very stubborn pieces, the oven method mentioned above can be incredibly helpful.
4. Grating Your Coconut
Now for the fun part! You have a couple of options for achieving your desired texture:
- Manual Grating: Use a box grater on the medium or fine holes for shredded or desiccated coconut, respectively. For coarser flakes, a vegetable peeler can create beautiful, broad strips.
- Food Processor: This is the quickest method for larger quantities. Cut the coconut meat into smaller chunks (about 1-2 inches) and pulse in a food processor until it reaches your desired consistency – finer for desiccated, slightly coarser for shredded. Be careful not to over-process, or you'll end up with coconut butter!
5. Drying the Coconut
This is the crucial step that transforms fresh coconut meat into long-lasting desiccated or shredded coconut. The goal is to remove moisture without cooking or browning the coconut.
Oven Method:
- Preheat your oven to its lowest setting, typically around 150-175°F (65-80°C).
- Spread the grated coconut evenly in a thin layer on a baking sheet lined with parchment paper.
- Bake for 45 minutes to 1.5 hours, stirring every 15-20 minutes to ensure even drying and prevent browning. Keep a close eye on it, especially towards the end.
- The coconut is done when it's dry to the touch, light, and slightly crispy, but not browned. It will continue to crisp up as it cools.
Dehydrator Method:
- Spread the grated coconut in a thin, even layer on your dehydrator trays.
- Set your dehydrator to 115-125°F (46-52°C).
- Dehydrate for 4-8 hours, or until completely dry and crisp. Stir occasionally. This method is gentler and often results in a whiter, more uniformly dried product.
Air-Drying/Sun-Drying (Patience Required):
In warm, dry climates, you can also air-dry or sun-dry your coconut. Spread it thinly on trays and cover with a fine mesh to protect from insects. This can take 1-3 days, depending on humidity and temperature, and requires regular stirring.
6. Optional: Sweetening Your Coconut
If you desire sweetened coconut, you can add your preferred sweetener before drying. Lightly toss the grated coconut with a small amount of sugar (granulated or coconut sugar), maple syrup, or agave nectar. Start with 1-2 tablespoons per cup of fresh coconut and adjust to taste. This will adhere to the coconut as it dries, giving you perfectly sweetened shreds.
Creative Uses for Your Homemade Coconut
Now that you have a batch of fresh, homemade shredded or desiccated coconut, the culinary possibilities are endless!
- Baking: Elevate your cookies, cakes, muffins, and bread with a burst of tropical flavor. Think coconut macaroons, Lamingtons, or coconut cream pie.
- Snacks & Desserts: Roll homemade chocolate truffles or energy balls in desiccated coconut. Sprinkle it over yogurt, oatmeal, fruit salads, or smoothie bowls.
- Savory Dishes: Add texture and subtle sweetness to curries, stir-fries, or grain bowls. Use it as a breading alternative for chicken or fish.
- Toppings & Garnishes: Toast it lightly in a dry pan for a golden-brown, nutty topping on virtually anything.
- Granola & Cereal: Incorporate it into your homemade granola for an extra layer of flavor and crunch.
Storing Your Homemade Shredded Coconut
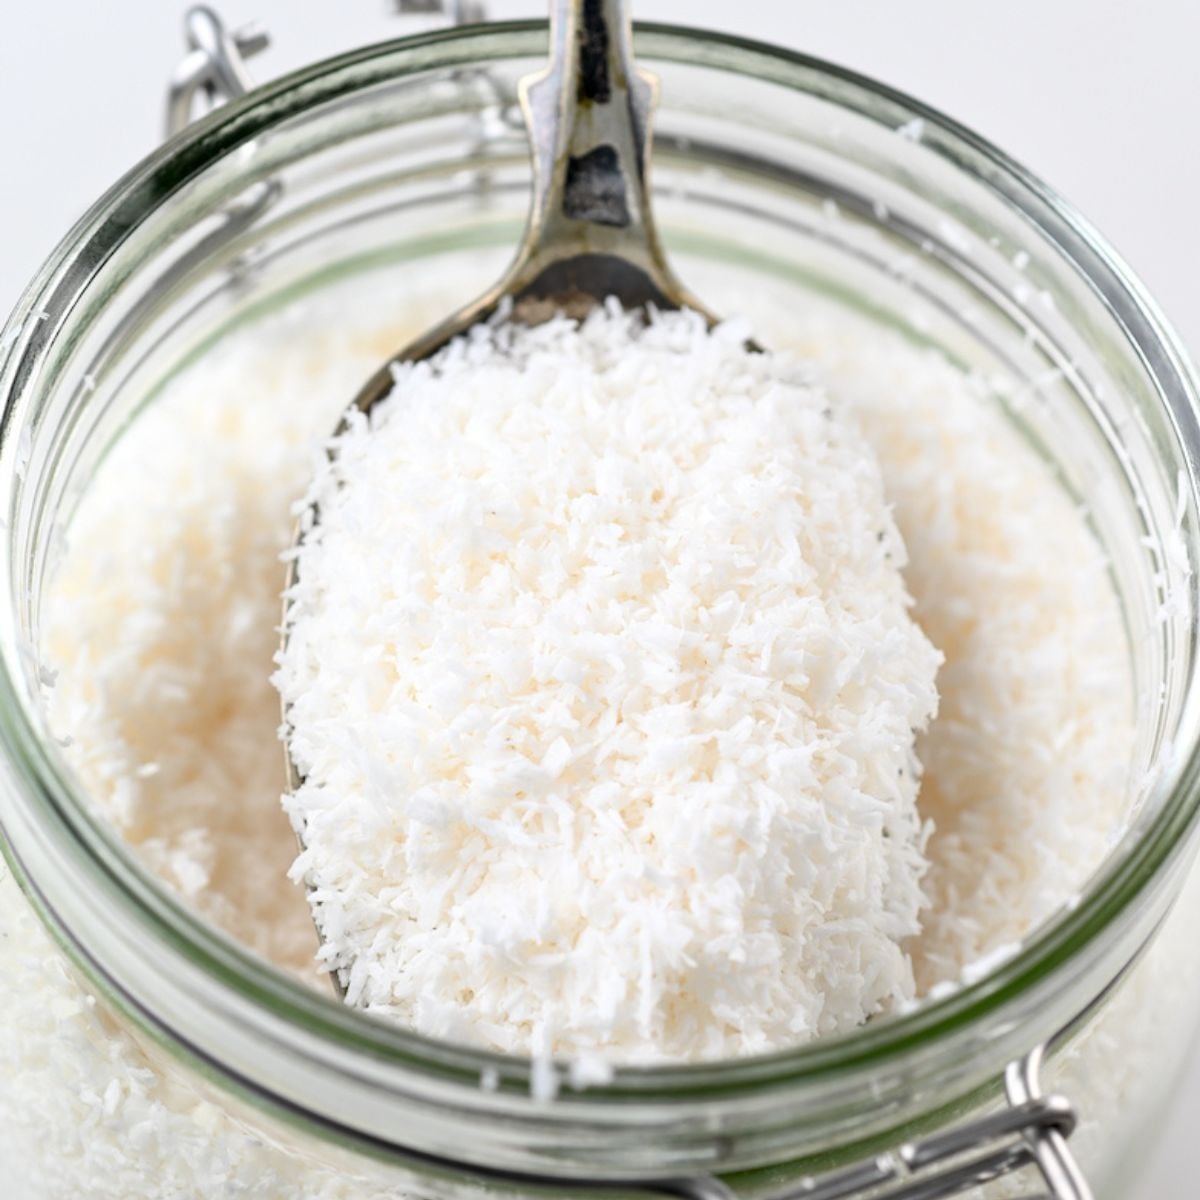
Once completely cool and dry, store your homemade desiccated or shredded coconut in an airtight container at room temperature for up to 2-3 weeks. For longer freshness, store it in the refrigerator for up to 2 months or in the freezer for up to 6 months. Always ensure it's completely dry before storing to prevent mold.
Conclusion
Making your own shredded and desiccated coconut at home is a wonderfully rewarding process that offers superior flavor, customizable texture, and the peace of mind that comes with knowing exactly what's in your food. It's a simple skill that unlocks a world of culinary possibilities, bringing a touch of tropical paradise to your kitchen. So, grab a mature coconut, and embark on this delicious journey – you'll quickly discover why once you go homemade, you'll never look back!
